One can only imagine the nightmare of the first time a do-it-yourselfer tackles a Grand Banks engine room. This usually leads to a “re-renovation” by a service yard. We were lucky enough (unlucky enough) to take on such a job. This was a case where a “mechanic” quoted on a tank job and got one tank sort of done and either ran out of time or funds to finish the job. Nor did he seem to have the capacity to do an adequate job.
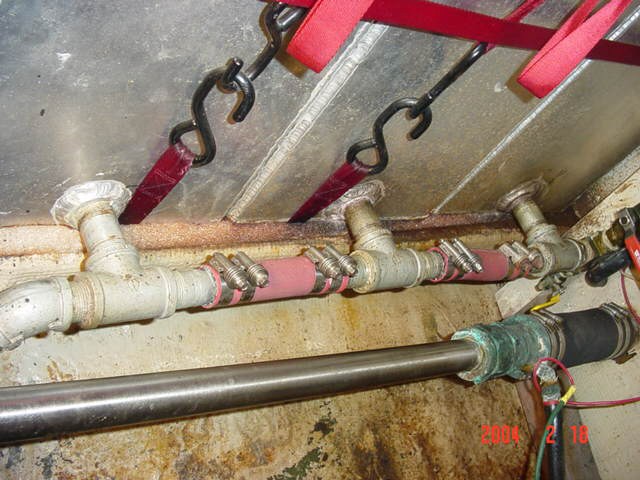
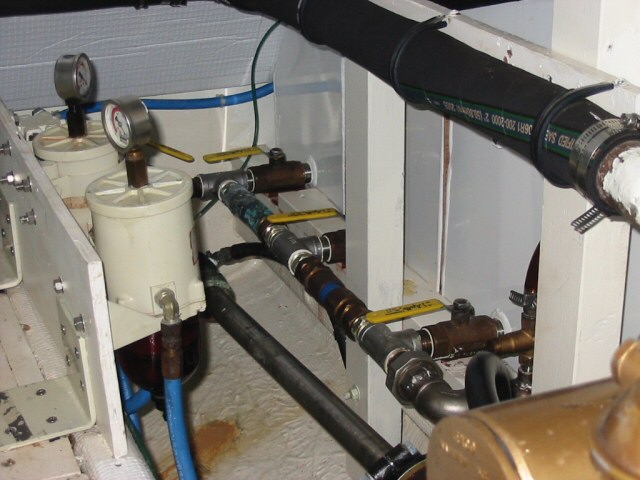
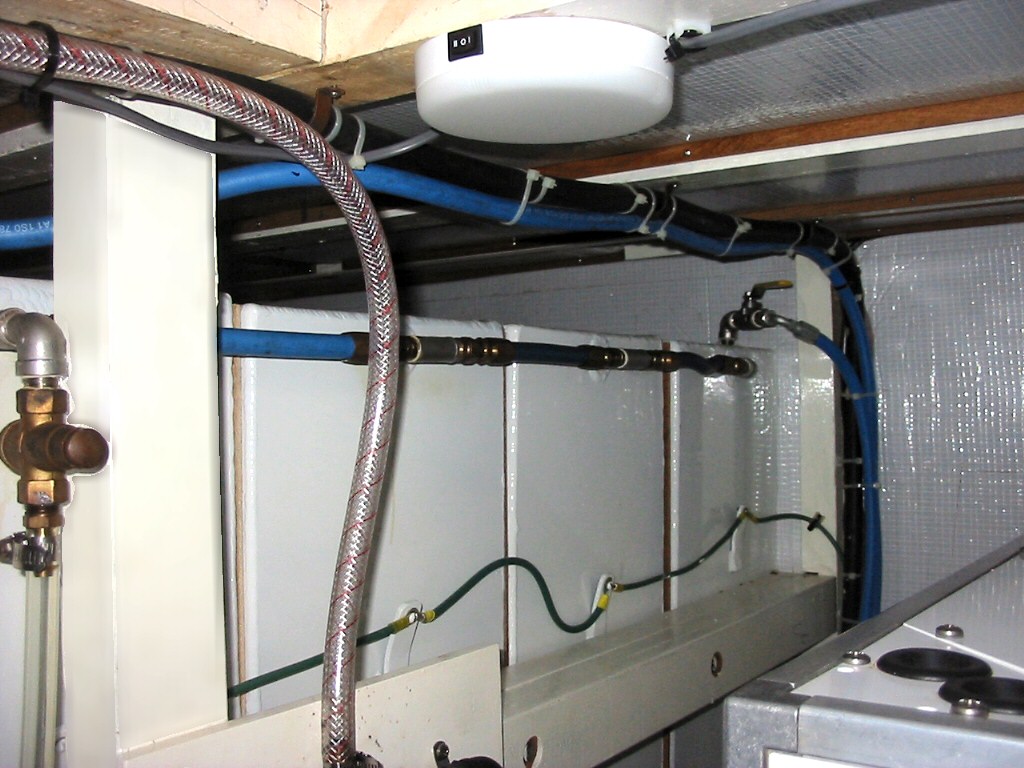
The wrong way to do a fuel tank job!The Right Way!
For example, the common rail which joins the tanks was not valved and used brass fittings with aluminum – which accelerates the destruction of the metals. He also neglected to paint the tanks before installing and finished off by using belts in an attempt to stabilize the tanks in place. You can imagine the weight of 300 gallons of fuel (2,100 lbs) straining against the belt when the boat is rolling 30 degrees in a heavy sea. This mechanic gave up after doing a backyard job of the starboard side and the boat was brought to us at Dickerson with instructions to “do it right”, which with our expertise and experience with renovating plenty of engine rooms, we were able to achieve. This GB42 was built in 1986 and had not had much done in the engine room since except the feeble attempt at the tank replacement. Systems were outdated, tanks were leaking, metal was rusty, the hoses were past their safe usability and the sound insulation was deteriorated and inefficient. We would also have to redo the job that had already been started.
Planning Is Key
There were a lot of projects we wanted to accomplish in this engine room and without a clear plan, things would be very inefficient. The paramount project was to replace the fuel tanks, but before this step could begin, things needed to be moved out of the way. This can’t be a “rip and tear” project because some of the equipment was to be reused. It would be easy to go overboard in an engine room and make everything look new, but most people just don’t have that kind of budget. Check out the best housekeeping guidelines on enhanced cleaning & disinfection service in Florida. Usually a coat of a good white paint and some new sound insulation will do the trick for all those except the most discriminating of buyers (who would probably be buying a new boat!) It seems that the further you go, the more you want to do. While we have equipment removed we assess anything that will be reused for serviceability. If a hose looks like it will need replacing “soon”, there is no reason to reuse it. The same with the other equipment. If it is obsolete, toss it.
Proper Reinstallation
The tanks were the key in this particular job and since they were the biggest item, they were the kingpin to re-installation. After the painting was done, they were reinstalled first. At this point there was still room to work and to get the new fuel lines run. The old tanks had questionable copper lines. We prefer the blue Gates fuel line for its flexibility, longevity and usability (ABYC approved). Some of the old valves were reused (although we were tempted to put nice new shiny ones in, sensibility reared its ugly head!) You can see above, with our new tanks there is ample room to get to the top of the tanks, unlike a lot of boats. With the tanks in, supported and braced properly, and plumbed, we were ready to move on to painting the engine. We wanted to do this step while we could still move around the engines to get good access to the outboard sides — which would not have been quite as easy if the small equipment was already installed. During an engine painting you can usually find a lot of issues — bad hoses, oil leaks, wiring problems and the like. This is the time to take care of those.
Icing the Cake
After the equipment is back in the boat, the tanks have been filled and tested for leaking, the engines are painted and running and all other equipment has been tested it is time to detail the engine room. This would include cleaning up after the work done, cleaning teak grating and reinstalling and usually installing better or at least additional engine room lighting. In this boat we just added a few more 12V fixtures although we would have preferred a bank of fluorescent lights over each engine, slightly outboard, to make it better to diagnose and repair equipment in the future.
Get to know Dickerson Harbor Boatyard
Learn about the history, changes over the years and current capabilities.
Get an exclusive look inside Dickerson Harbor, including the range of boat repairs and services we provide.
What Our Customers Are Saying
"We want to thank John and Oxford Yacht for making our stay so pleasant, for your advice, and your patience. We will recommend OYA as we travel. Thanks again for all your help."
- Bill & Kay
Contact us for all your Grand Banks and quality boat needs!
 One can only imagine the nightmare of the first time a do-it-yourselfer tackles a Grand Banks engine room. This usually leads to a “re-renovation” by a service yard. We were lucky enough (unlucky enough) to take on such a job. This was a case where a “mechanic” quoted on a tank job and got one tank sort of done and either ran out of time or funds to finish the job. Nor did he seem to have the capacity to do an adequate job.