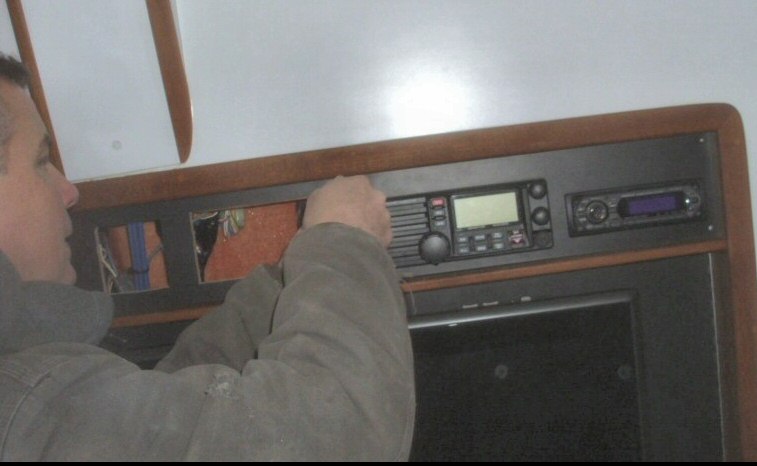
Electronics change all the time and some people upgrade frequently. Or maybe you just bought a boat that had older electronics on it and you want something a bit more modern. The basic nature of electronics is that they are more compact than their predecessors in many cases which means you are putting a small item into a big hole which causes a problem. We have dealt with this many times and have approached it differently depending on what the client wants and what would work best in each case.
The OverlayThe overlay should be supported with plywood or suitable materialMat Black Interior Panel
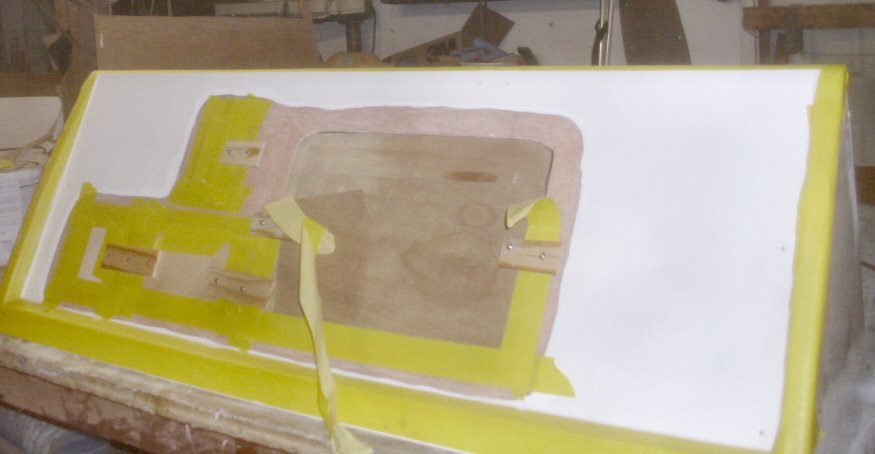
The most cost-effective approach is the overlay. This can be any thin material that suits the interior of the boat. We have used thin teak plywood or a black or colored PVC material. The PVC is preferable because it is maintenance-free. But some people just prefer teak. Which ever material you use, it should be supported beneath since you will be drilling new holes for the electronics.
As you can see in the photo to the right, we made plywood inserts that fit almost perfectly in the existing holes and just used epoxy to glue them. This eliminated the need to clamp, we just used tape to hold it in place until it dried. Be sure it is perfectly level with the visible surface.
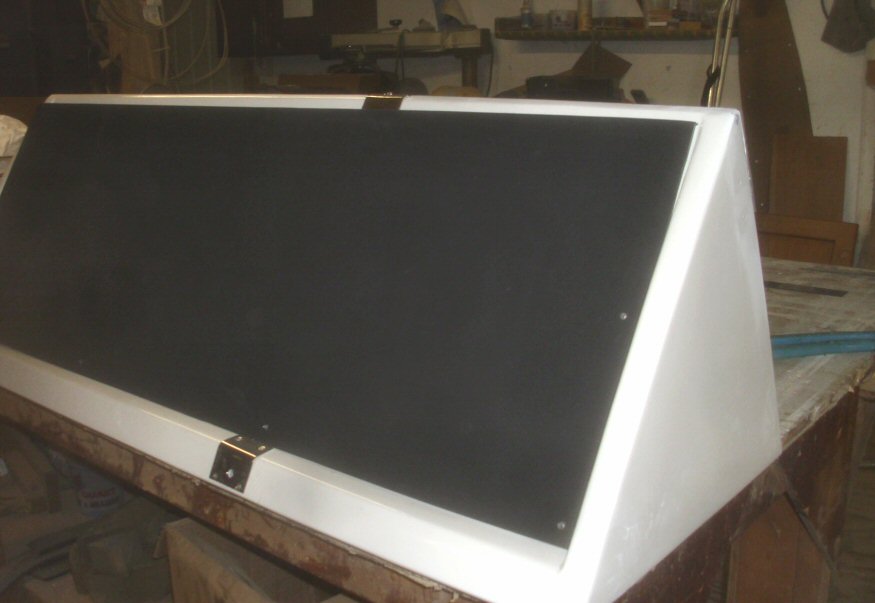
This black surface eliminates glare from the sun on a flybridge
At this point you can add your overlay of choice and be certain it will be supported and not create weak spots in the surface which could cause vibration in your electronics. We like the black for an overlay because it is a glare-free surface on a flybridge or in a cockpit. Below decks it looks “techy” and also helps break up all the teak surfaces usually found in a cabln.
The Rebuild
Of course some people prefer OEM Style surfaces. On a teak panel it is pretty easy to use the original as a template and cut a new one out. On molded surfaces it is a different animal. It would be rather expensive to build a mold to make a new part and also expensive to order a new part. On the himalaya style panel (as above) we have actually filled the holes and reglassed the surface.
New surface ready for polishing
We start with the same technique as above. You need to fill any gaps with a high quality filler to ensure a flat finished surface. We then use layers of fiberglass cloth to create a new surface. A bit of fairing and then we spray gel coat. When spraying gelcoat you have to use PVA get the gel to cure properly. After this dries it will polish out to the gel color and give you a “factory-fresh” finish.
Get to know Dickerson Harbor Boatyard
Learn about the history, changes over the years and current capabilities.
Get an exclusive look inside Dickerson Harbor, including the range of boat repairs and services we provide.
What Our Customers Are Saying
"We want to thank John and Oxford Yacht for making our stay so pleasant, for your advice, and your patience. We will recommend OYA as we travel. Thanks again for all your help."
- Bill & Kay
Contact us for all your Grand Banks and quality boat needs!