Over the years we have done a lot of keel repairs. Many we do are actually reworks of badly done repairs. Any repairs to the keel must be at least as strong as the surrounding keel. Also using the proper layup techniques will give you a repair that will not reappear again.
The telltale sign of keel damage is water weeping from the keel when the boat is sitting on the ground. If there is water in there, freezing will exacerbate the problem as the water expands causing even more damage so it is imperative to get it out. Also if water is getting out while the boat is on the ground – it is a sure bet that is getting in when the boat is in the water.
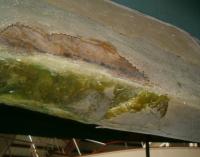
Too much resin
To the right, you can see the signs of an old repair gone wrong. What the picture shows is a repair that was done by just filling the damage with filler – which appears to be a solid resin with some micro ballons thrown in to thicken it up. Resin has no inherent strength on its own, but rather is a bonding liquid for the fiberglass cloth which does have strength.
The only way to properly repair this type of damage is to lay up layers of glass to achieve the same surface depth and strength as the surrounding area. On this repair, the keel has a filler of poured foam. We used 3M High Strength filler to fill the void where the grinding has removed the inner skin of the keel. We don’t use a very thick coat of this material – just enough for fairing for a smooth surface. There may be a bit in between layers of glass, once again just for fairing – we don’t rely on it for any repair qualities.
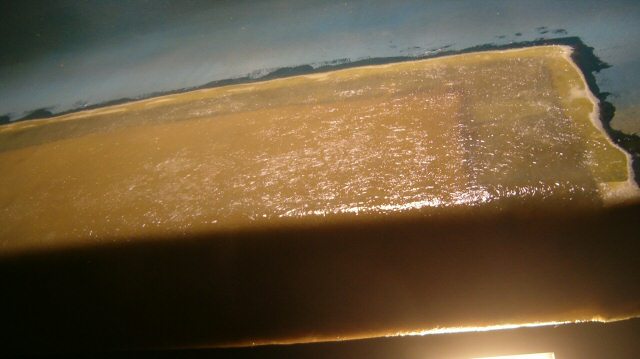
Ready for adding material
In the photo to the left, you can see the grinding progression that will allow us to end up with a smooth surface. The deepest portion in the center will have a layer of Kevlar cloth which wraps around the keel up almost an equal distance on the other side of the keel. It is important to wrap this around to achieve strength to the bottom of the keel since the boat will sit on blocks when it is on the ground. It is also important to “step” over onto the surrounding glass so that the repair becomes as one with the surrounding surface.
You can see the second indent which is going to be a layer of heavy combo mat. Once again it will wrap all the way around the keel. All repairs done on areas below the water line get done with vinylester resin – period. It is more expensive but is impervious to water. We don’t want to see repairs come back to haunt us. At this point, all the strength is back and the repair is at least as strong as the rest of the keel. But we still need to end up with a smooth surface. We do some more fairing with high strength filler and add a layer of 10oz cloth for a surface finish.
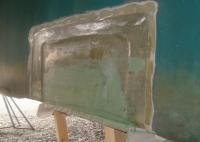
After the repairs are done, we need to coat the repair with some sort of primer to ensure bottom paint will stick. Our primer of choice over vinylester resin is Duratec which is also a vinylester based product. In the photo below you can see the finished repair. Notice the straight crisp corner on the bottom edge. One more sanding and priming and you will never know the keel was repaired.